

These are instructions on how to install MTK USB Driver on a Windows computer (compatible with Windows 7, 8, 8.1, 10 and Windows 11).
Requirements: The MTK USB Driver supports Windows computers with either a 32-bit or 64-bit architecture. It may or may not be compatible with Windows XP and Vista.
Steps to Install MTK USB Driver on Windows Computer
- Download and extract the MTK USB Driver package on the computer. If you have already downloaded and extracted the driver package, then SKIP this step.
- Once the driver package is extracted, you will get the MTK-Driver-Setup.exe file:
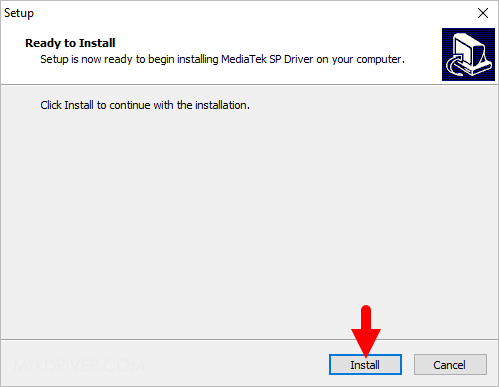
- Open MTK-Driver-Setup.exe (double-click to open) to launch the Setup Window:
- When the Setup Window opens, click the Install button.
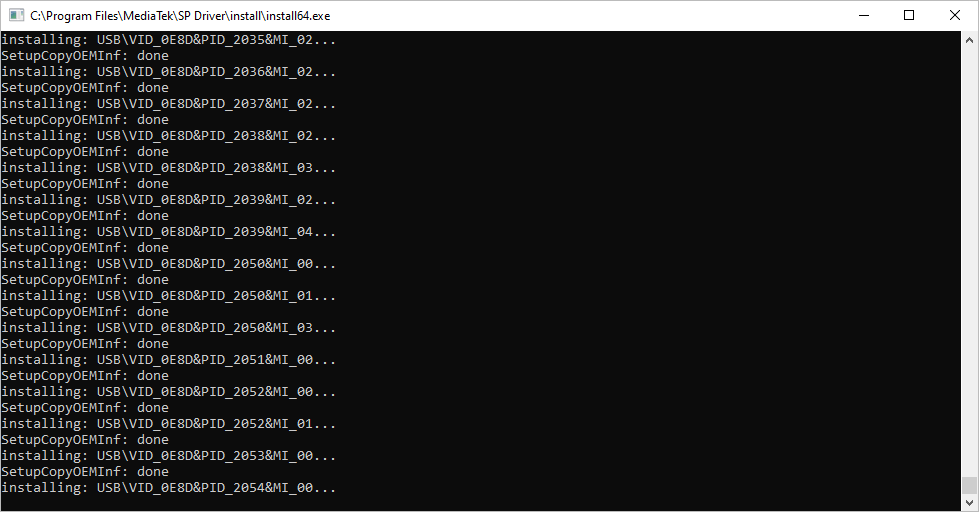
- Now, MTK Driver will be installed on the computer (this may take a few seconds to complete).
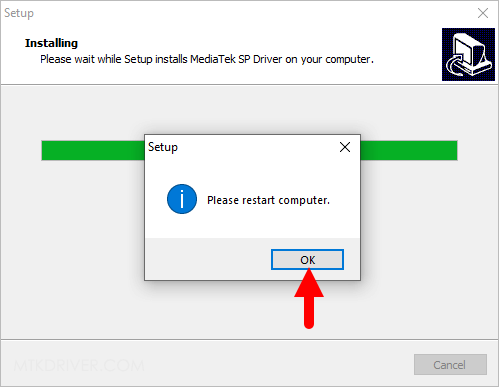
- Once the installation is completed, you will see a Small Dialog box saying to Restart the computer. Click on the OK button.
- Click on the Finish button to exit the Setup Window.

Restart the computer. Upon reboot, you can connect your MTK device to the computer without facing USB Driver connectivity issues.
Readme Once:
[*] Download Latest MTK Driver: If you are looking for the latest MTK Driver, then head over to our Download page.
[*] Previous Versions: If you’re searching for older versions of MTK Driver, then head over to our Archives page.
[*] Remove or Uninstall: If you want to remove or uninstall MTK Driver from the computer, then head over to How-to Uninstall MTK Driver page.
